Making of The Blacksmith: Scene setup, Shading, Lighting


In the previous blog posts in this series we have looked at the team that created The Blacksmith, and the art production process that established the short film’s aesthetic. But now we turn our attention to more technical matters, as we consider the project’s production in Unity 5, here focusing on scene setup, shading and lighting.
Engine versions and dogfooding
The production of The Blacksmith was done on early alpha- and beta-versions of Unity, and was stabilized on 5.0.b22 to ship. The project has since been upgraded to the shipped version of Unity 5.
Using an engine in constant development involves instability and leads to some inevitable inefficiency when it comes to content production. We faced the weekly dilemma of whether to upgrade to get the fixes in the new version, or to skip a version to avoid disruption of the team’s work.
In addition, the sequencing of cameras and animation in The Blacksmith was based on Director, one part of the Storytelling set of tools in Unity, which at that time were in a very early stage of development (and still don’t have an announced release date). Getting this functionality into our project involved regular merges to the main Unity 5, which continued from about halfway in-production until we shipped.
As a content-production team at Unity, we communicate bugs and feature requests to the relevant development teams, and then usually keep our fingers crossed that they will be fixed quickly or implemented at all. If they aren’t, we workaround through our own solutions. Our feedback is weighed against the needs of the larger Unity userbase and we don’t usually get any prioritised treatment.
Scene setup
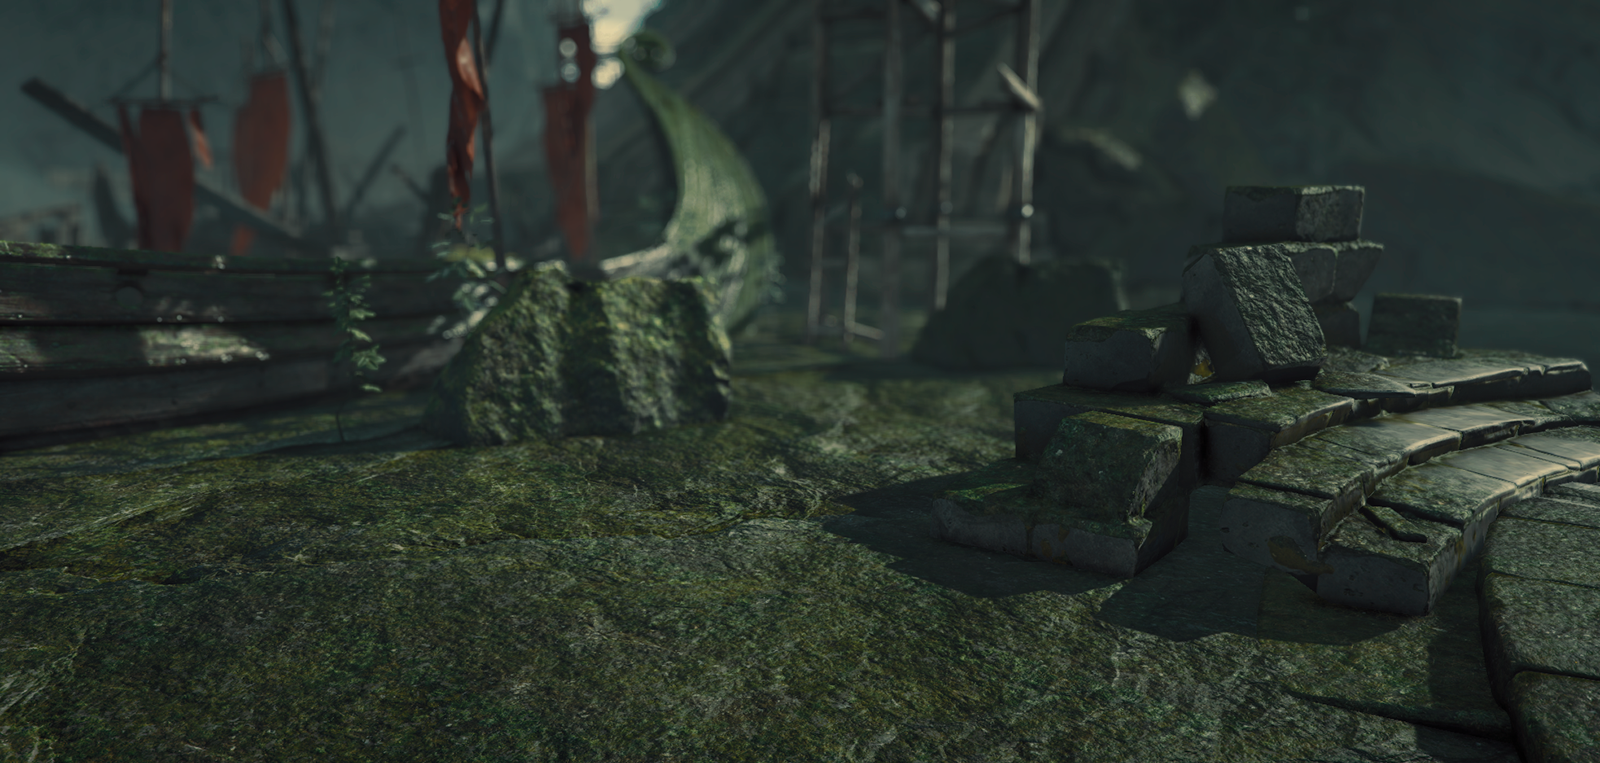
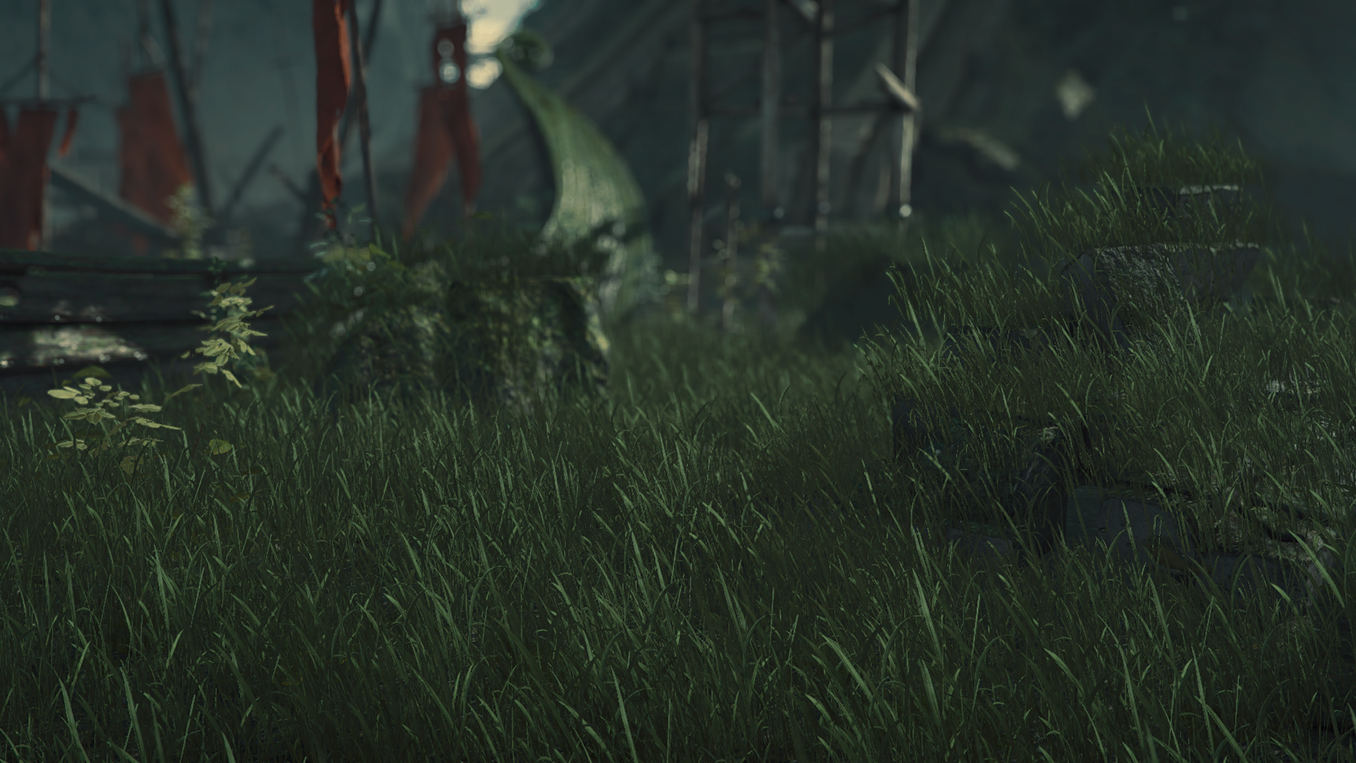
At the start of The Blacksmith’s production stage, we whiteboxed the scene in Unity.

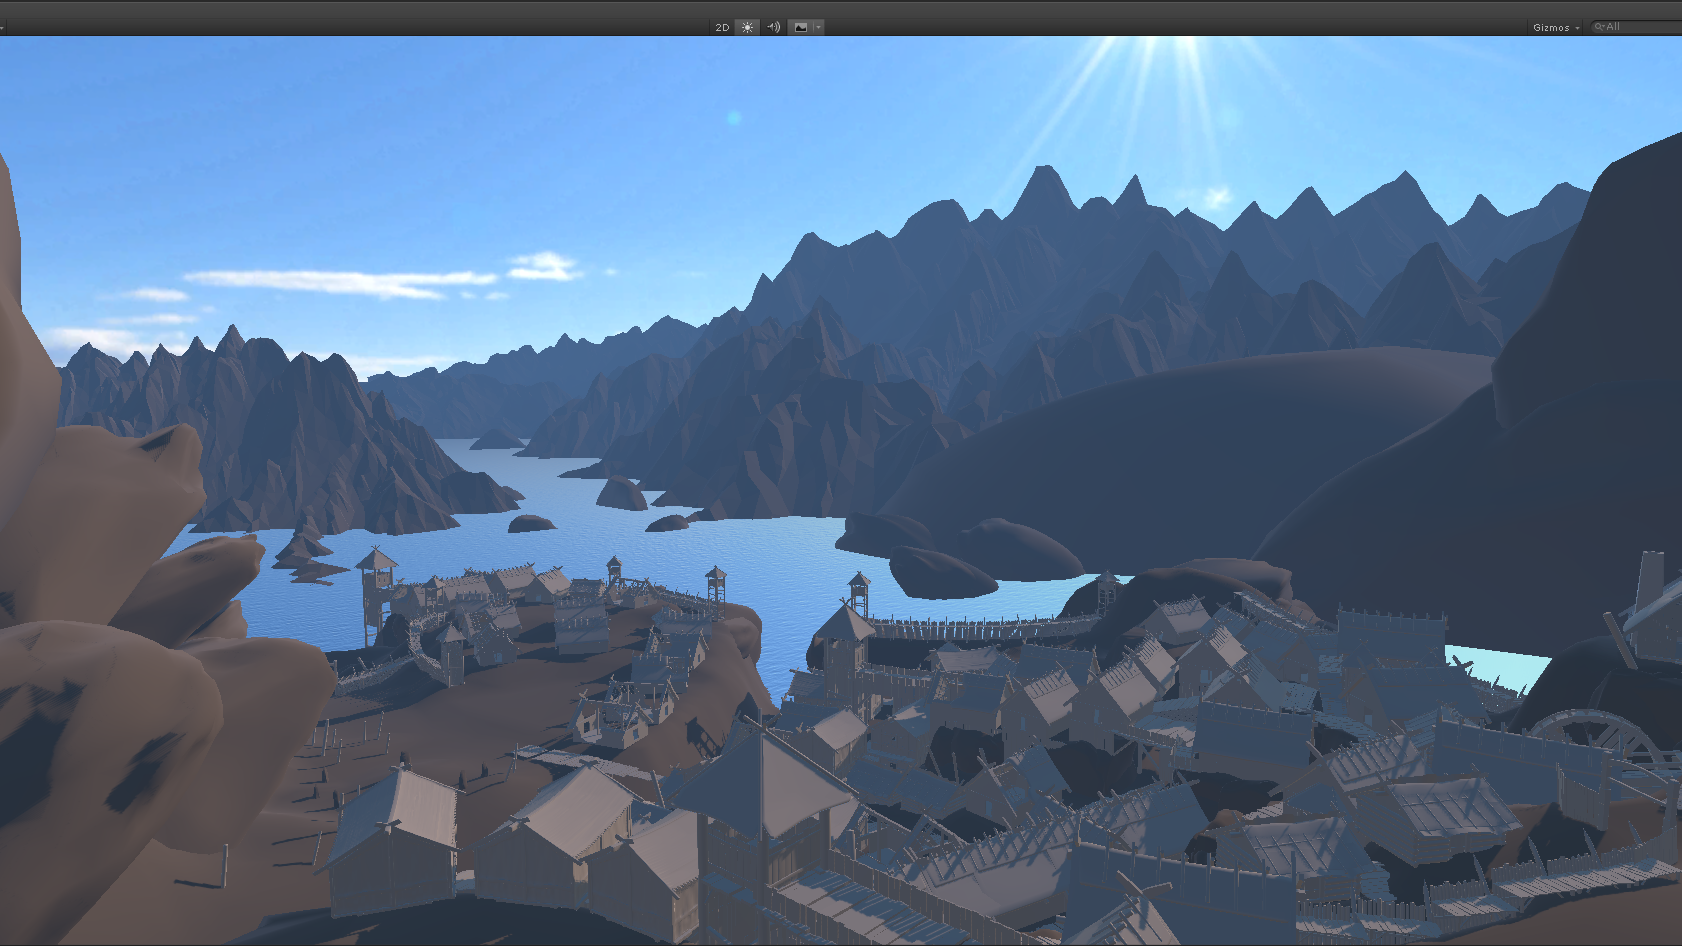
Using packages from the Asset Store, such as Better Rocks and Cliffs by Quantum Theory, was very helpful for prototyping, and ensured we were able to start working on look development very early on. We quickly achieved a rather detailed result:
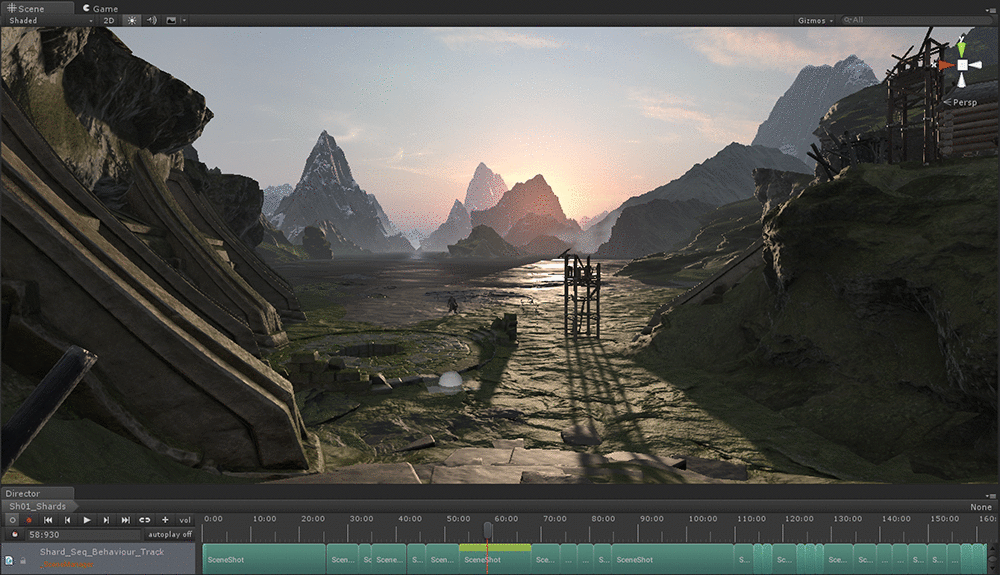
 Following our storyboard, which we did during pre-production, we did a first iteration of the cameras, loosely approximating the desired shots. Based on that, we were able to break down what assets needed to be produced for each shot. At that stage the 3D art for the characters was already in progress.
It was important for us to have as much artistic control per-shot as it would be possible. Therefore we extended the Unity Editor with a Scene Manager, which allows us to group objects per shot. We use it to enable or disable certain objects, or change their properties – location, scale, material and so on – only for a specific camera, in order to get a better shot composition. In the same way, every shot can have its own, specific light setup, and thanks to the realtime global illumination we have instant change of the lighting from shot to shot.
Shading
Unity’s Physically-Based shading system is fairly straight-forward to use and set up.
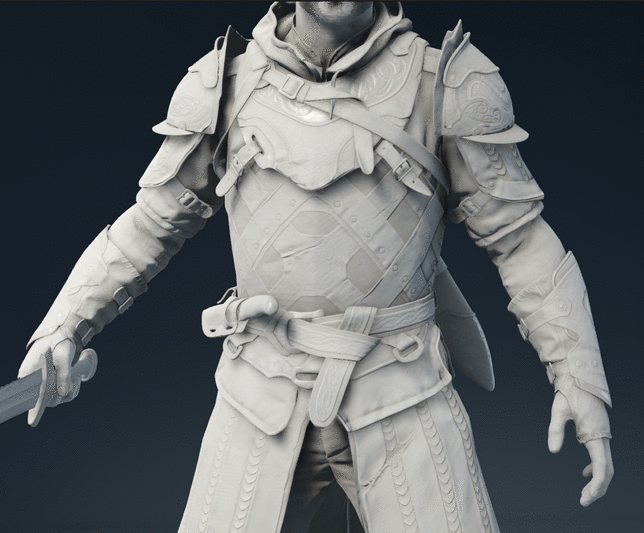
It was employed throughout the entire project. Since we didn’t scope this project to include the development of a proper skin shader, we used the Standard shader even for that:
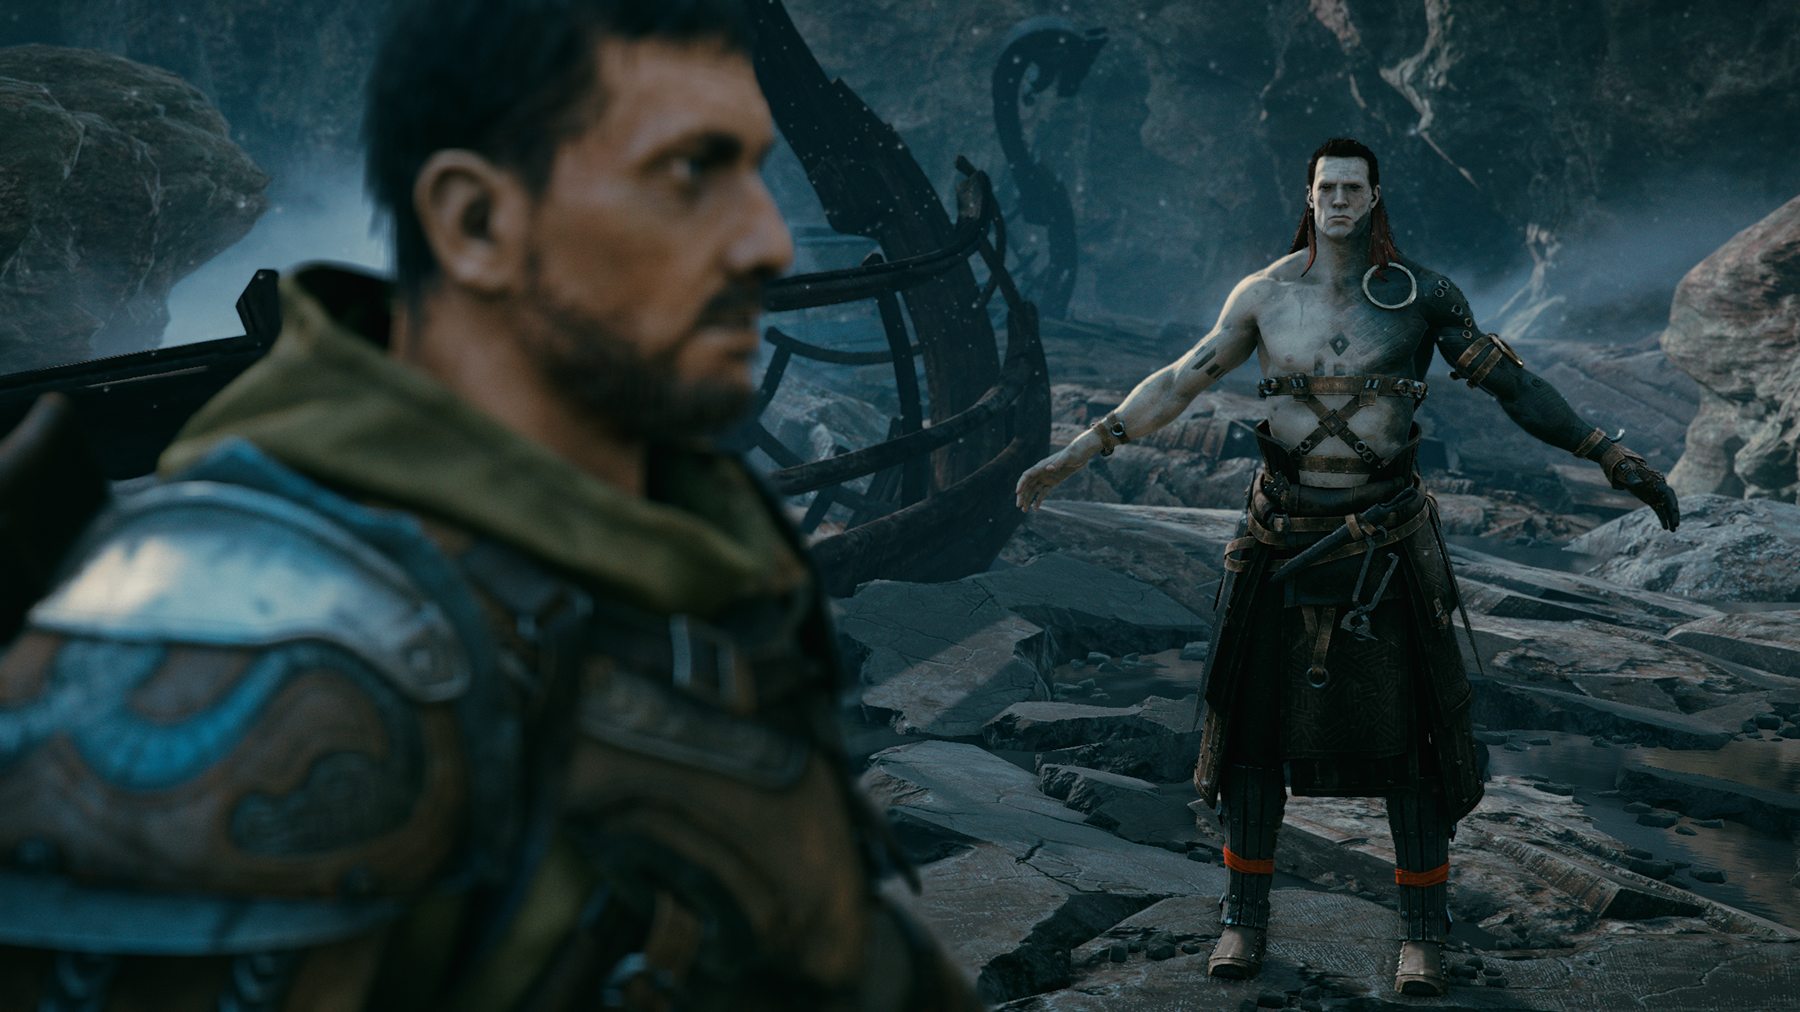
 The Challenger - Screenshot from the Unity Editor
One of the great advantages of the Standard shader in Unity 5 is that it is meant to be extended and modified for the specific needs of any project. The source of the Standard shader can be downloaded from here: http://unity3d.com/get-unity/download/archive (under the ‘Downloads’ dropdown for the appropriate platform, select ‘Built in shaders’). Building project-specific shaders on top of it is quite straightforward, and we did it a lot on The Blacksmith. We will share some examples below.
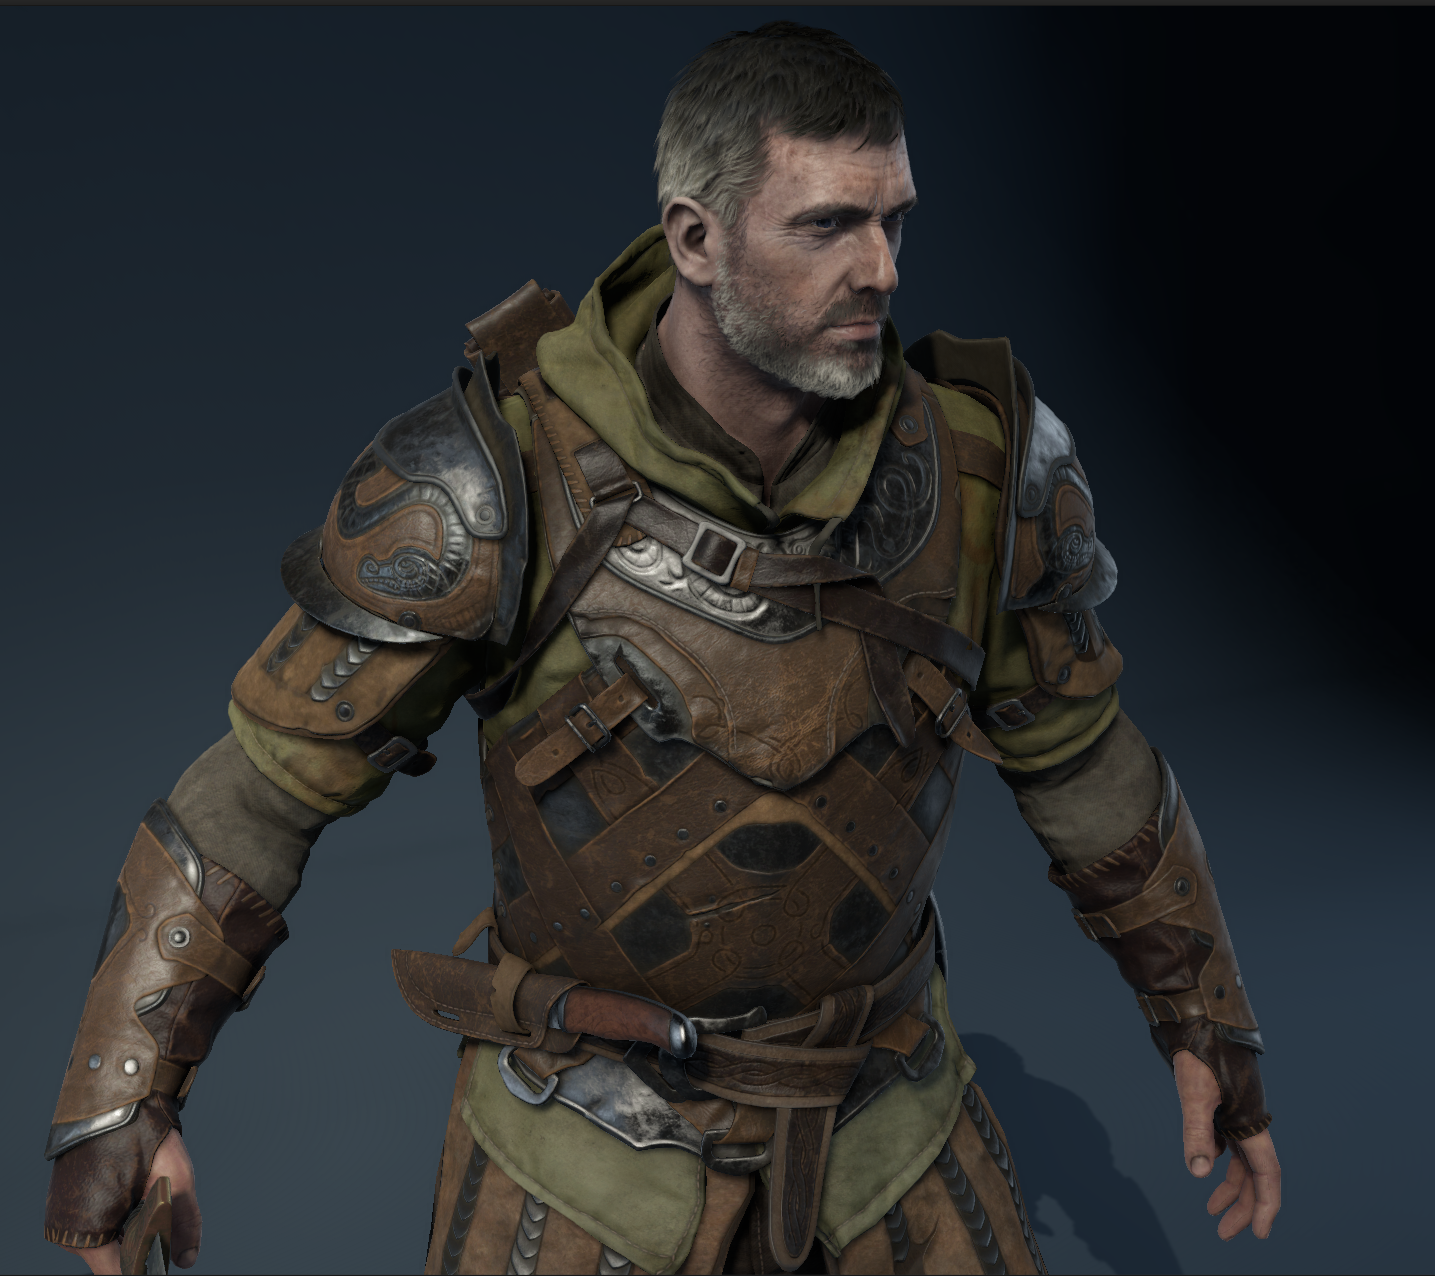
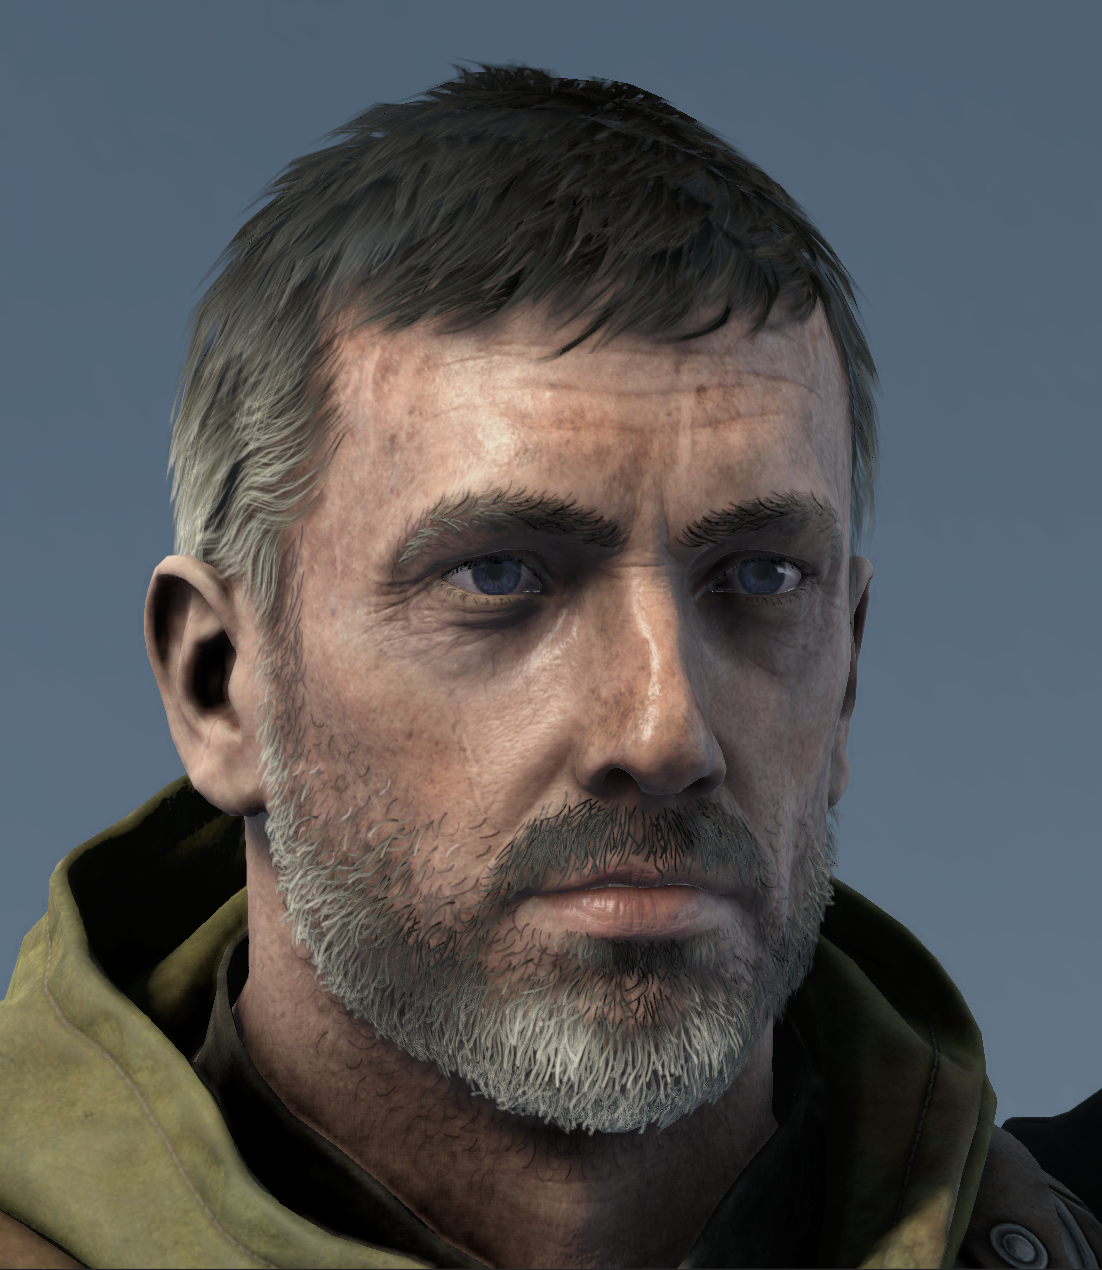
We modified the Standard shader to make it aware of the custom shaders we have added to the project. We used two versions of this modification: one for the environment (e.g. it is aware of our atmospheric scattering) and a more complex one for the characters (which is also aware of our unique character shadows and wrinkle maps). The latter has a slightly enhanced UI, with sliders for the specular map.


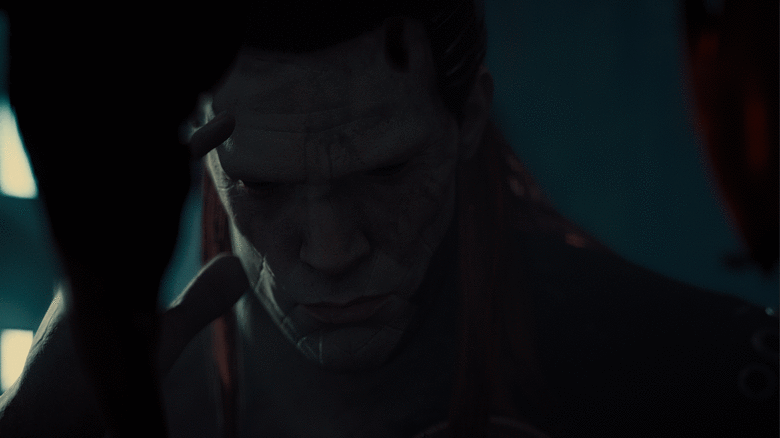
To give the Challenger’s face some extra life and detail, we decided to develop a solution for blendshape-driven wrinkle maps. Based on the influences of the most prominent blend shapes at any time, we mixed together multiple normal and occlusion textures in a screen-space prepass. This was then fed directly to a Standard shader variation that sampled and unpacked normals and occlusion from this screen-space buffer instead of the regular material slots.

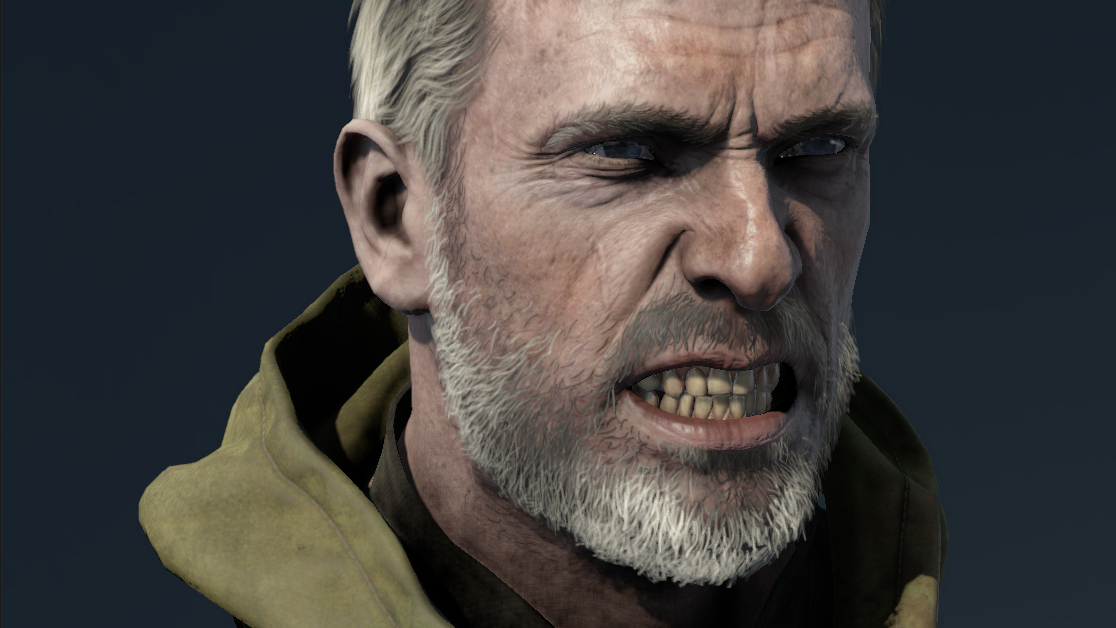
The Standard shader is awesome for a wide range of real-world materials, but hair is, unfortunately, not one of these. Although hair rendering was never a primary focus area for The Blacksmith, we did want to ensure we had those characteristic anisotropic highlights for hair, while still integrating properly with the physically based environment used by the other materials. To achieve this, we modified a Standard shader to use a different reflectance distribution model, but left the sampling of reflection and light probes intact.
 Hair shader - Screenshot from Unity Editor. Click to see full size.
We also wanted to have soft vegetation in some of the shots, as well as an easy way of painting varied vegetation in the scene. The solution was a two-stage process extending Unity’s builtin vegetation features. A small tool, PaintJob, automated the process of shrink-wrapping any static geometry in the world with a temporary terrain. Combined with a simple ruleset controlling the wrapping, this allowed us to paint vegetation layers on ground meshes, around structures and on rooftops. For rendering, we then captured this painted data into a custom component for handling view-dependent sorting, sampling dynamic GI and managing culling and LODing.

Lighting
We used different layers to separate the lighting for the characters and for the environment, and assigned the respective culling masks to lamps. This way we had better control over both, taking a similar approach to what is usually done in filming, where specific light conditions are set up with regard to the presence and position of characters in the scene.
To improve the look of the characters, we used additional small local light sources to soften the shadows (unlit parts) on their faces.
As our characters are very prominent in the demo, and we have lots of close-up shots, it was very important to make sure that they could receive shadows with reasonably high resolution. For this reason we added a separate shadow texture dedicated only to the character shadows.
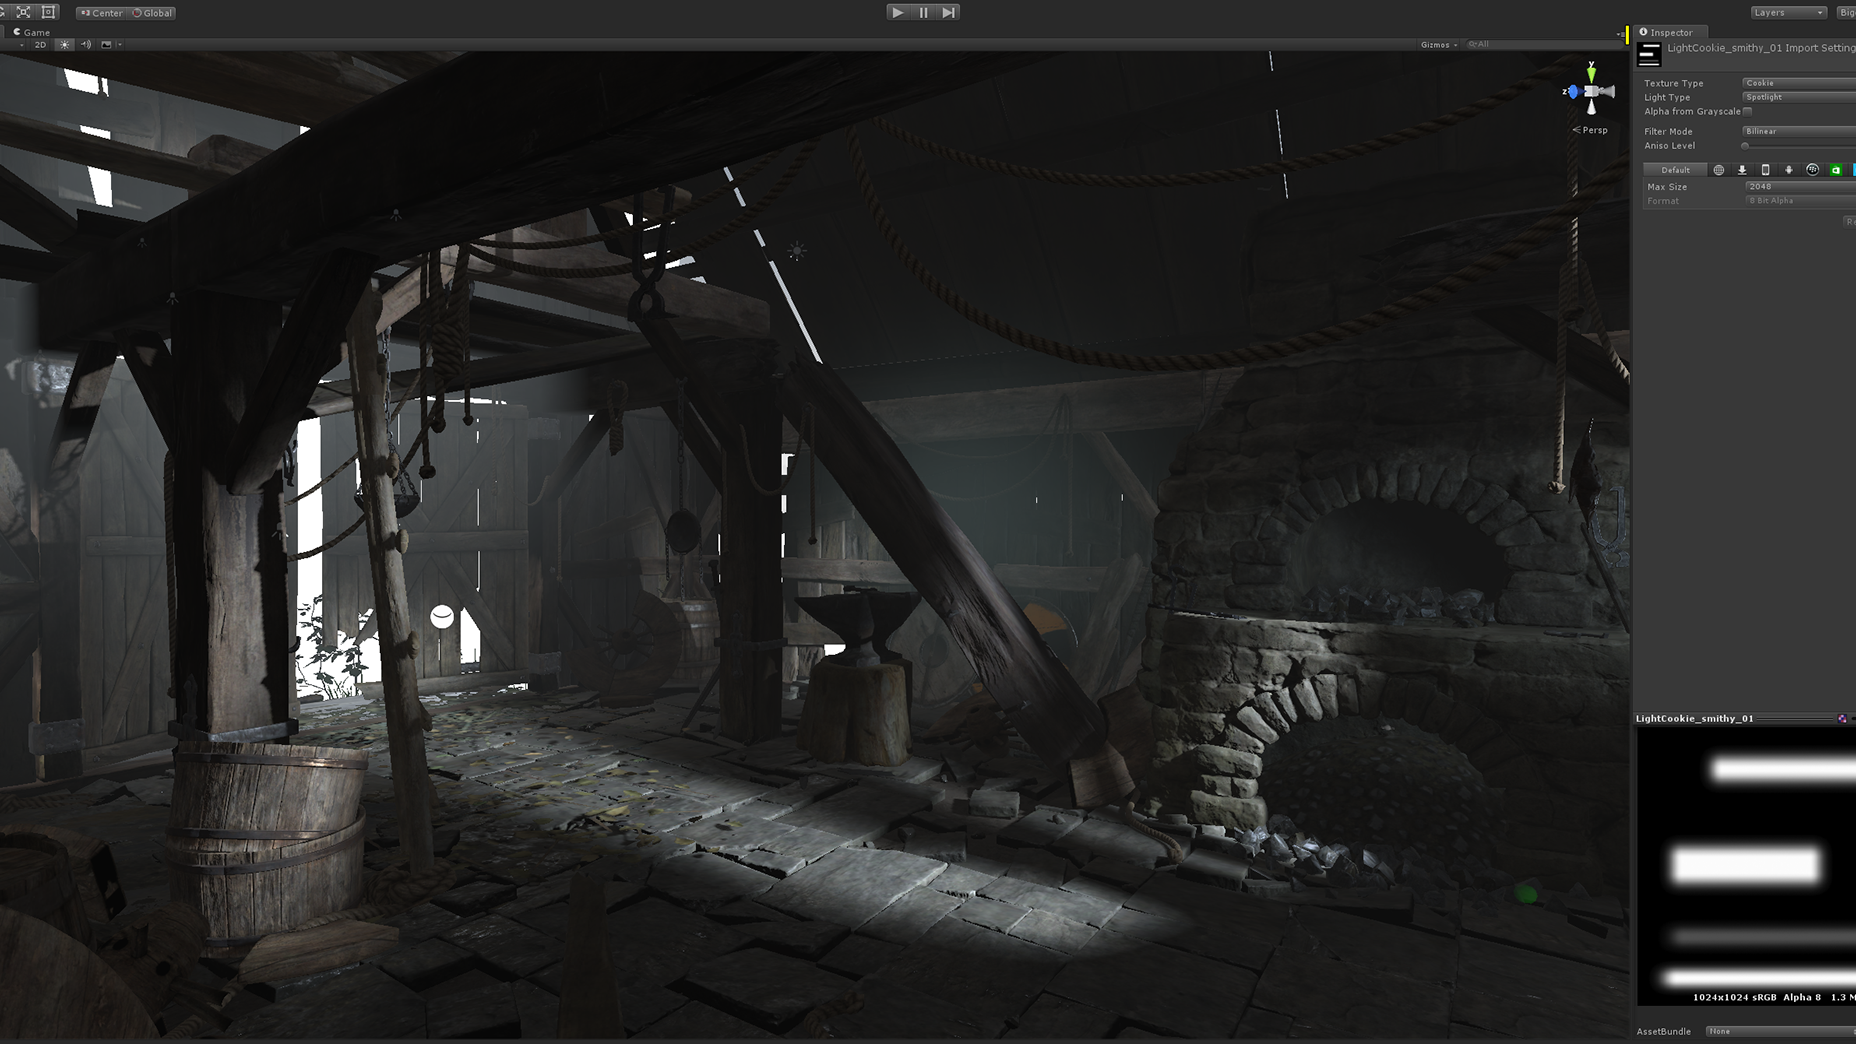
The light in the smithy interior was intended to look like it was coming from holes in the walls and roof. This effect is achieved by a cookie with an appropriate pattern.

For the ocean and beach puddles, we wanted reflections that would provide sharp contacts where objects penetrated the reflective surface, while growing more diffuse as the distance from reflector to receiver increased. What we ended up building was something similar to water reflections, but with a depth-aware convolution step setting up data for variable surface smoothness. Again, the output for this system was fed into a Standard shader, this time replacing reflection cube maps with our custom reflection texture.


In the next piece in this series on creating The Blacksmith we’ll move on to exploring the way the Demo team approached post process, animation and audio/video production. So be sure to keep an eye out for the next post over at our special dedicated page for The Blacksmith.
Is this article helpful for you?
Thank you for your feedback!
- Unity Labs
- Copyright © 2024 Unity Technologies