Making of The Heretic: Environment Art


My name is Plamen ‘Paco’ Tamnev, and in the last couple of years, I’ve had the pleasure to be a part of the Unity Demo Team as a 3D character/environment artist. Some of the previous projects I’ve worked on include Book of the Dead, Adam, and The Blacksmith. In this post, I will explain the creative process behind some of the environment art in The Heretic project.
I will focus mainly on the environment for the second part of the film - what we call “the throne room” and “Morgan’s chamber” since I had a chance to work on these environments from the concept to the final execution of the scene. If you want to know more about other parts of the project or have questions about The Heretic, I highly recommend you join my team for a Meet the devs live session on Tuesday May 12. You can add it to your calendar through this link. We will have a live Q&A in this session, so if you have any questions you’d like us to answer you can drop them in this forum thread.
I was very excited to get back into environment art, since for the last project - Book of the Dead as well as for the first part of The Heretic, I’ve worked mostly on the characters.


I had a lot of freedom to experiment with different ideas within the context of the film. At the same time, we had to be careful as having too many options isn’t always a good thing. In my opinion, sometimes the best creative work comes out of constraints and how we decide to work around them.
After some initial brainstorming with our director Veselin Efremov, I started thinking about how to narrow the seemingly overwhelming amount of creative options that I had. I started by trying some ideas that I didn’t think would make it into the project. I knew that this would help me narrow down our options and my experience over the years has taught me that sometimes it’s just as important to find out what doesn’t work as it is to land on an idea that does.

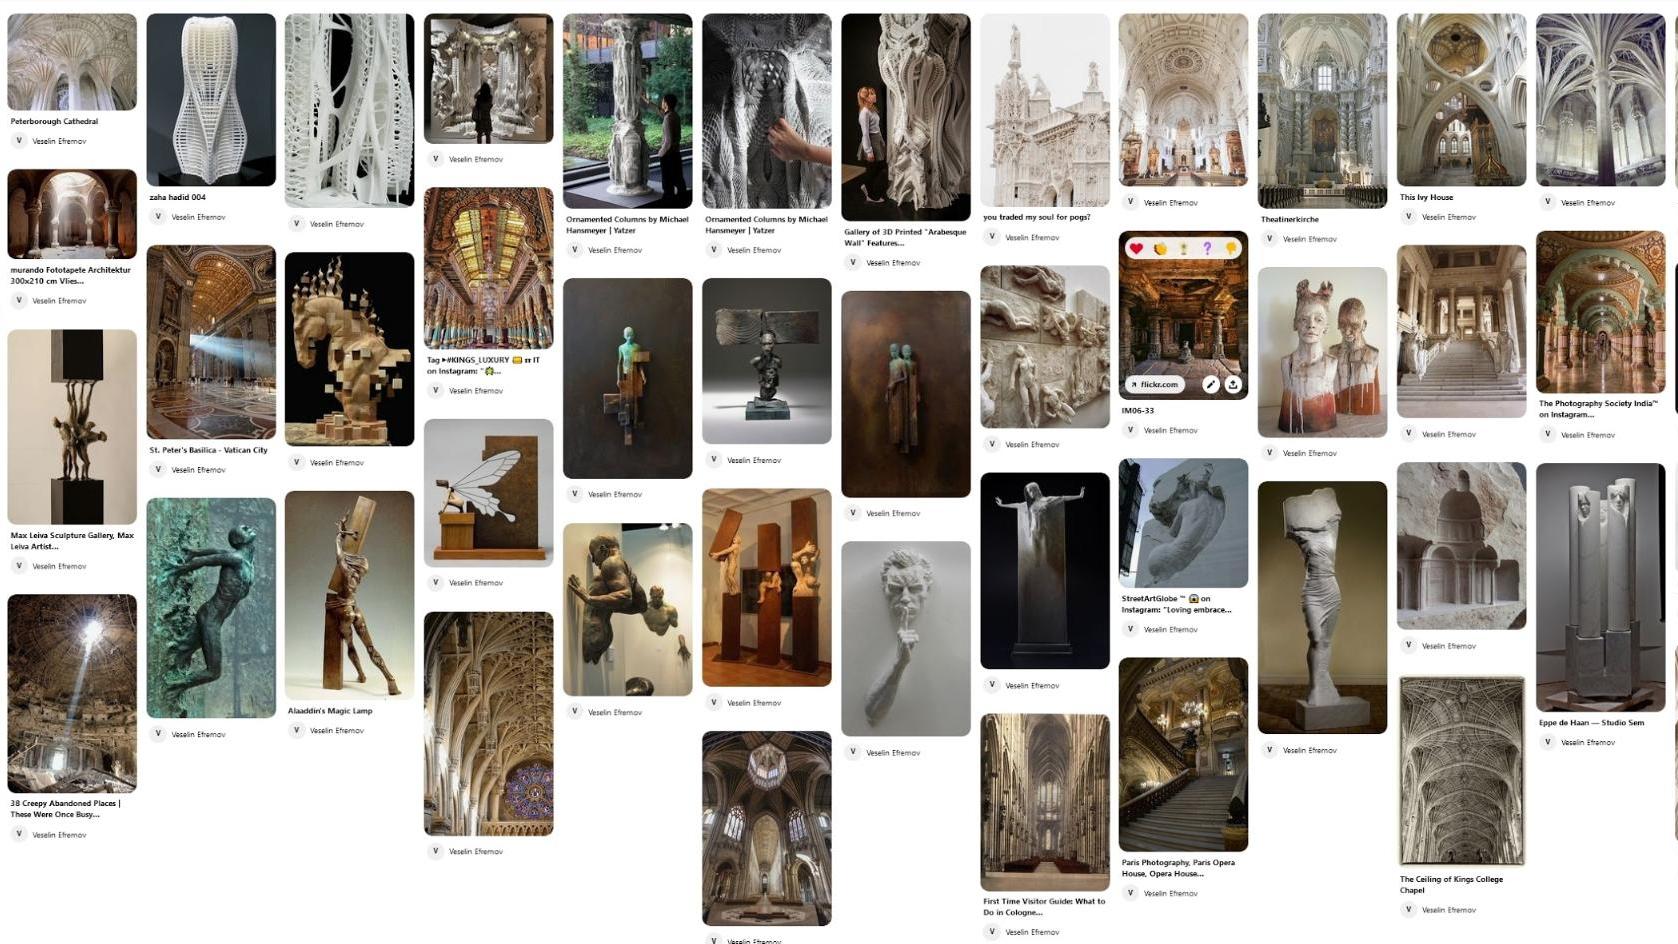
Some initial references that we gathered during the brainstorming for what type of elements could work. For the full reference board go to Pinterest.
At first, I was mostly throwing stuff against the wall, trying to see what sticks. We kept some of the elements from those experiments pretty much until the end of the project. Most of my initial ideas were a bit too organic and suggestive, others had an almost cave-like feeling to them.


Then I began to experiment with arrays and symmetries. A small kitbash formed that I could base different shapes and ideas on. These experiments helped me out with the initial blockout of the scene quite a bit. They filled up the previously empty canvas so that we could get started working in context.


Exploring different artistic directions helped the director and animation director identify possibilities for the cameras for the scene. Later on, I came back to the actual design and asset creation.
The earlier experiments that I did were pretty much using only the kitbash set. The rest of the space was blocked out with very simple shapes and primitives with tiled materials and textures using the Triplanar UVs in the HDRP Lit shader.
Example of one of the very first experiments for the scene, those were a lot more abstract compared to the later versions.
Most of them used at least one detail texture on top as well for close up detail. This helped us to quickly bring the assets to a presentable state with minimal effort.


Experimenting with lighting was a bit of a double-edged sword. On one side, it helped me to sell the specific design that I was currently showing, but on the other it was difficult to anticipate how the scene will look under drastically different lighting conditions and camera angles.
As you can see, the design had morphed a lot as we got further into the project.
In hindsight, I should have committed to a specific concept a bit earlier. That is probably my main takeaway from this project. Even though I’m actually happy with how the scene came out in the end, I also think that each of the previous versions could have worked too. Sometimes it’s just too difficult to stay objective when you look at something for too long while still adding some new ideas to the mix.
Here are some more iterations of the scene that are a bit closer to what we ended up with.


This is one of the last concepts that I did for the throne room before I started focusing more on the execution and refining for the various shots that we needed.


For those scenes I made temporary lighting that uses only the standard Unity lights and some reflection probes. The final lighting in the movie was made by the director and also the setup was very different. Initially, I set this up more like a typical game level, with the purpose to present the concepts and give some potential ideas. The final lighting setup was built per shot.


We wanted to have as many opportunities for interesting camera angles as possible for the director to be able to choose from and not be constrained by having just one or two good angles for a specific section of the scene.
That’s why I didn’t want to overly focus on a certain element or camera angle. I have to admit that this is easier said than done. When you think something looks good from a certain angle, it could be quite tempting to overwork it for the shot that you personally prefer.


I tried adding a bit more verticality to the scene with some visual elements. See, for example, the section under the floors. Together with various other elements, they add to the perceived depth of the whole environment, even though the character is walking on a flat plane. This also gave us some additional opportunities to add light sources for certain shots.


The final design changed quite a bit in comparison to the earlier versions, but some elements, like human figures and the geometric arrays, made it all the way from the initial experiments to the final project.
The rotating element underneath the glass in the middle of the chamber, for example, was an important part of many earlier iterations of the scene. It served as another important element that added depth. I also see it as the beating heart of the throne room.
I didn't want to rely too much on assets with custom UVs and textures, but instead wanted to use tiled materials and textures whenever possible. In many cases, I used the triplanar mapping feature of the Lit shader instead of having to manually unwrap each individual asset. For additional details I used trim sheet textures and some geometric decals where needed.
A very essential part of bringing everything together without using too many custom assets and textures was the extensive use of the Unity Decal Projector. It helped me quickly iterate on the scene in a non-destructive way and they were great to add natural wear and tear to the scene. That also helped a lot with bringing a more hand crafted feeling to the assets, something that is easy to be lost when there are too many tiled materials.

Here you can see the throne room from slightly different angles, as it looks in the Unity Editor. In a way, this was supposed to be the heart of the throne room.


For the part after the throne room itself, when we’re about to meet Morgan, we knew that we wanted to have a bridge and show the outside facade of the throne room. This went through some changes as well, but it was almost exclusively prototyped with the same set of geometries as before.


In those early versions, it felt a bit more claustrophobic and confined than what we were going for, so for the next iterations of the design, I removed everything except the main building.


Even though the outside area changed a lot, the general look of the building and the bridge are still somewhat similar to what we ended up with in the final version. Again, I relied almost exclusively on the kitbash set that I did previously for the interior as well, plus a lot of decals.


The environment around Morgan came together surprisingly quickly. I experimented with some static meshes beforehand, but it never felt quite right. We wanted the space to feel more distinct, as it’s not just an extension of the rest of the environment. With the help of our tech artist Adrian Lazar, who made a particle system that was very easy to use and to experiment with, I started blocking out the environment around Morgan. I started out by playing around with color and motion. Just trying to see how much we can get away with by scaling, getting as much use as possible from the two types of particle systems in the short amount of time that we had for that particular part of the project.


For the environments in the first half of the film, we worked together with Georgi Simeonov, Treehouse Ninjas, and Julien Heijmans. This was a very different approach, and we relied much more on custom assets. Treehouse Ninjas and Julien Heijmans helped us with these, while Georgi Simeonov did all of the concepts for the spaces there and helped with building some of the scenes directly in the Editor.


For a large part of the production The Heretic had the codename The Cave, which became an inside joke for the team since we barely had a cave in it at the end. That codename came from the initial idea that we had for the space where the lost city was located, it was supposed to be under a vast cave-like structure, but we eventually decided to try out an exterior vista that actually worked better in the end.


I’ve had a lot of fun on this project and even though we had some tough times, it was an amazing journey on which I learned so much. The freedom I have on the Demo team as an artist is hard to come by in our industry and I also had an opportunity to work side by side with some amazingly talented people.
--
Keep an eye out for more blog posts and videos about The Heretic on our channels, and bring your questions to my team’s Meet the devs session on Tuesday. We’ll have a special announcement for you, so tune in live to be the first to know!
Is this article helpful for you?
Thank you for your feedback!
- Unity Labs
- Copyright © 2024 Unity Technologies