Adam – VFX in the real-time short film


We are continuing our series of blog posts from last year, this time featuring a technical, behind-the-scenes glimpse of how the visual effects in the Adam demo were created.
About me
My name is Zdravko Pavlov and I’m a visual effects artist with 11 years experience in motion graphics and compositing for CG productions, VFX art for games, and 3D modeling, lighting and rendering. My responsibilities in the production of the Adam demo included the creation of particle effects and the dynamic simulations.

Particle Effects
Fumes
I used PhoenixFD to set up a fluid simulation. The rendered sequence was used as a flipbook texture in Unity’s Shuriken particle system.
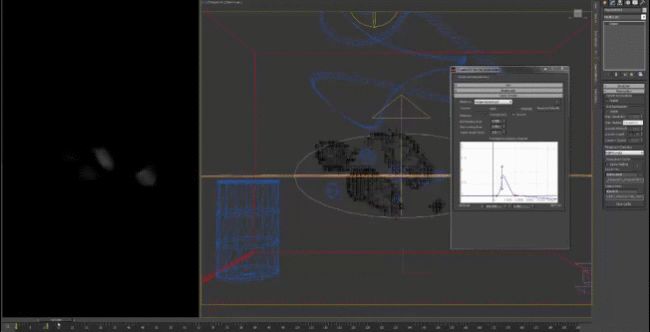
The particles controlled the density of a fog volume that was affected and properly lit by all area light sources in the scene. The area lights code was implemented by our GFX programmer Robert Cupisz, and is now available on GitHub.

Puddles
I also used PhoenixFD for the liquid simulation of the ripples in the puddles.


The rendered sequence was once again combined into a flipbook normal map texture. The particles were spawned under the robot’s feet and rendered in an offscreen buffer. The result was used to modify the surface normals of the puddles.
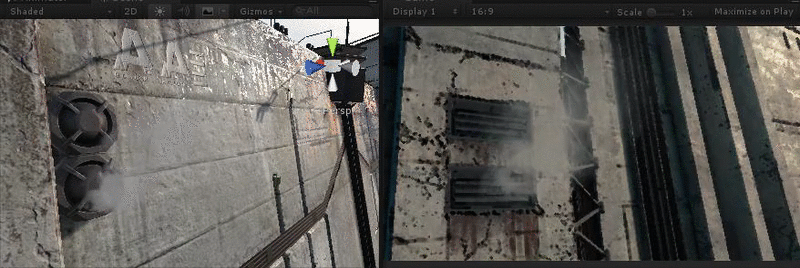
Dust and smoke
I used Unity’s native Shuriken particle system for the sparks and plumes of dust when the bullets hit the concrete in the shooting sequence, as well for some of the secondary effects like tiny dust specs flowing through the air and columns of smoke rising from the vents of the city wall.
Dynamic simulations
In Adam we had motion captured performances for all of our characters. Still, we needed to add a layer of secondary animation for all the clothes and different accessories that weren't present physically on the mocap set. Instead of animating those by hand, we set up a number of dynamic simulations to help us with the process.
From the very beginning we knew that we were going to have some closeups and slow moving shots. The simulations needed to match the quality of the demo in terms of precision and visual fidelity, so we looked into some high end offline simulation solvers. The calculated results were baked and played back as animations.
The sleeve
The “sleeve shot”, as we were calling it throughout the production, was actually the very first shot I started working on. I looked into some different cloth solvers, and also skinned particles approaches.

Eventually I ended up using 3DS Max’s built-in cloth modifier for the final simulation. I set some basic tests and showed it to the director.

After some iterations, I took Adam’s actual animation and geometry and started working on the final version of the simulation.


The results were baked and brought into the engine via the alembic importer developed by Unity Japan, which is freely available on GitHub.
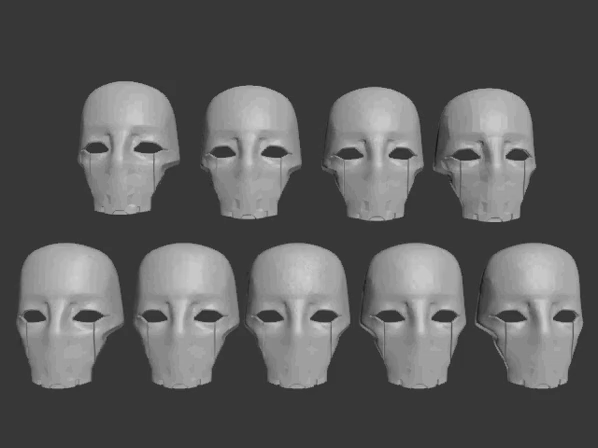
The mask
For the damaged mask, I built a simple Thinking Particles setup.


The procedural nature of TP and its integrated Volume Breaker helped me iterate faster and explore different options. I handed over the approved version to our 3D modeler Plamen (Paco) Tamnev who used it as a base for the final model.
Both the torn sleeve and the broken mask of the main character were not only important for the story, but they also serve as tools that help Adam stand out from the crowd later on.
CaronteFX
Caronte is a multiphysics simulation engine developed by Next Limit, and had been Real Flow’s rigid and soft body dynamic solver for quite some time now. CaronteFX brings the same high quality physics solution to Unity through a seamless engine integration, which made most of our FX shots possible within the tight production timeframe.
It was still an early alpha version when we first picked it up. It didn’t have ropes and cloth integrated yet, but we started working in close collaboration with the CaronteFX team and they’ve put a tremendous effort into providing us with all the tools and options that we needed throughout the production. Currently all of these are available with CaronteFX on the Asset Store.
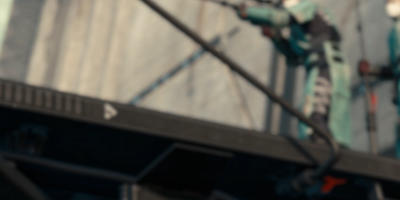
The cables
Early in the production, we weren’t sure about the cables that keep Adam attached to the machine. We were worried about potentially twitchy cables behaviour, geometry intersections and so on.
Fortunately CaronteFX has quite precise ropes solver that calculates collisions based on the triangles of the geometry, thus taking the actual rope (cable) thickness into account.
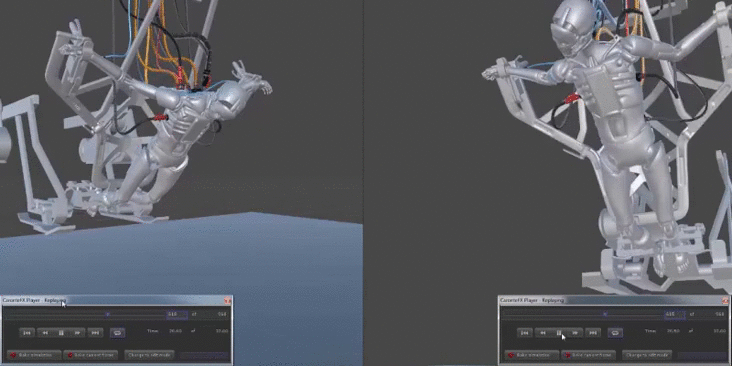
Baking a complex simulation like this one produces quite a lot of cached data. We used the automatic skinning option that was added in CaronteFX. A hierarchy of bones is generated and the result can be exported as FBX file.

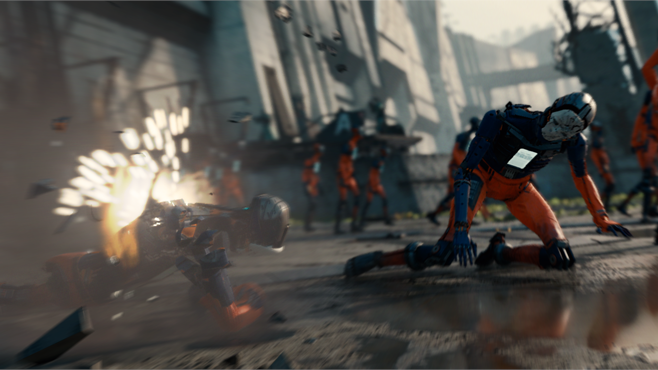
The shooting


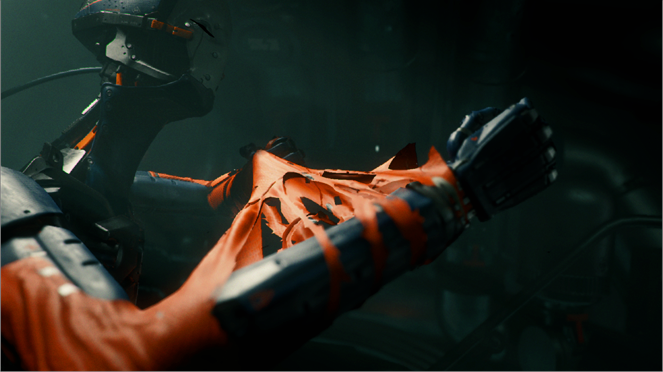
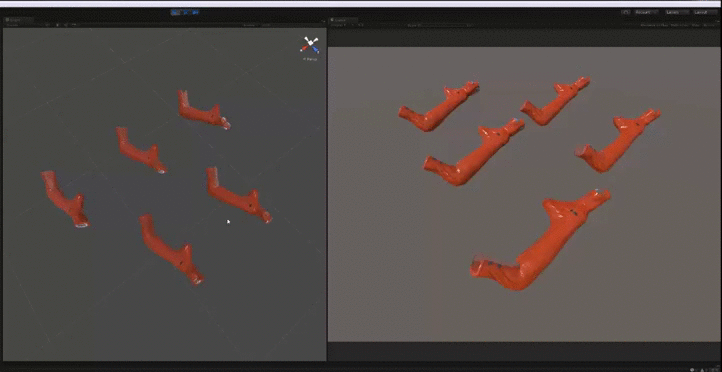
There are quite a few things going on in this action sequence. Bullet impacts lifting plumes of dust and sparks off the ground. Concrete fragments flying everywhere. A robot’s leg and arm shredded to pieces.

I started working on this shot quite early. I used Thinking Particles for some of the early versions. TP is incredibly flexible and robust and I was able to quickly try out different scenarios. Later, when we adopted CaronteFX in our pipeline, I recreated this effect in it, so I could use its Unity integration and the convenience of the automatic skinning.

CaronteFX has a very flexible fragmenting system. As a VFX artist, I was able to fracture assets into pieces, without leaving the Unity Editor. The new assets are saved along with a new material for the newly generated geometry faces.

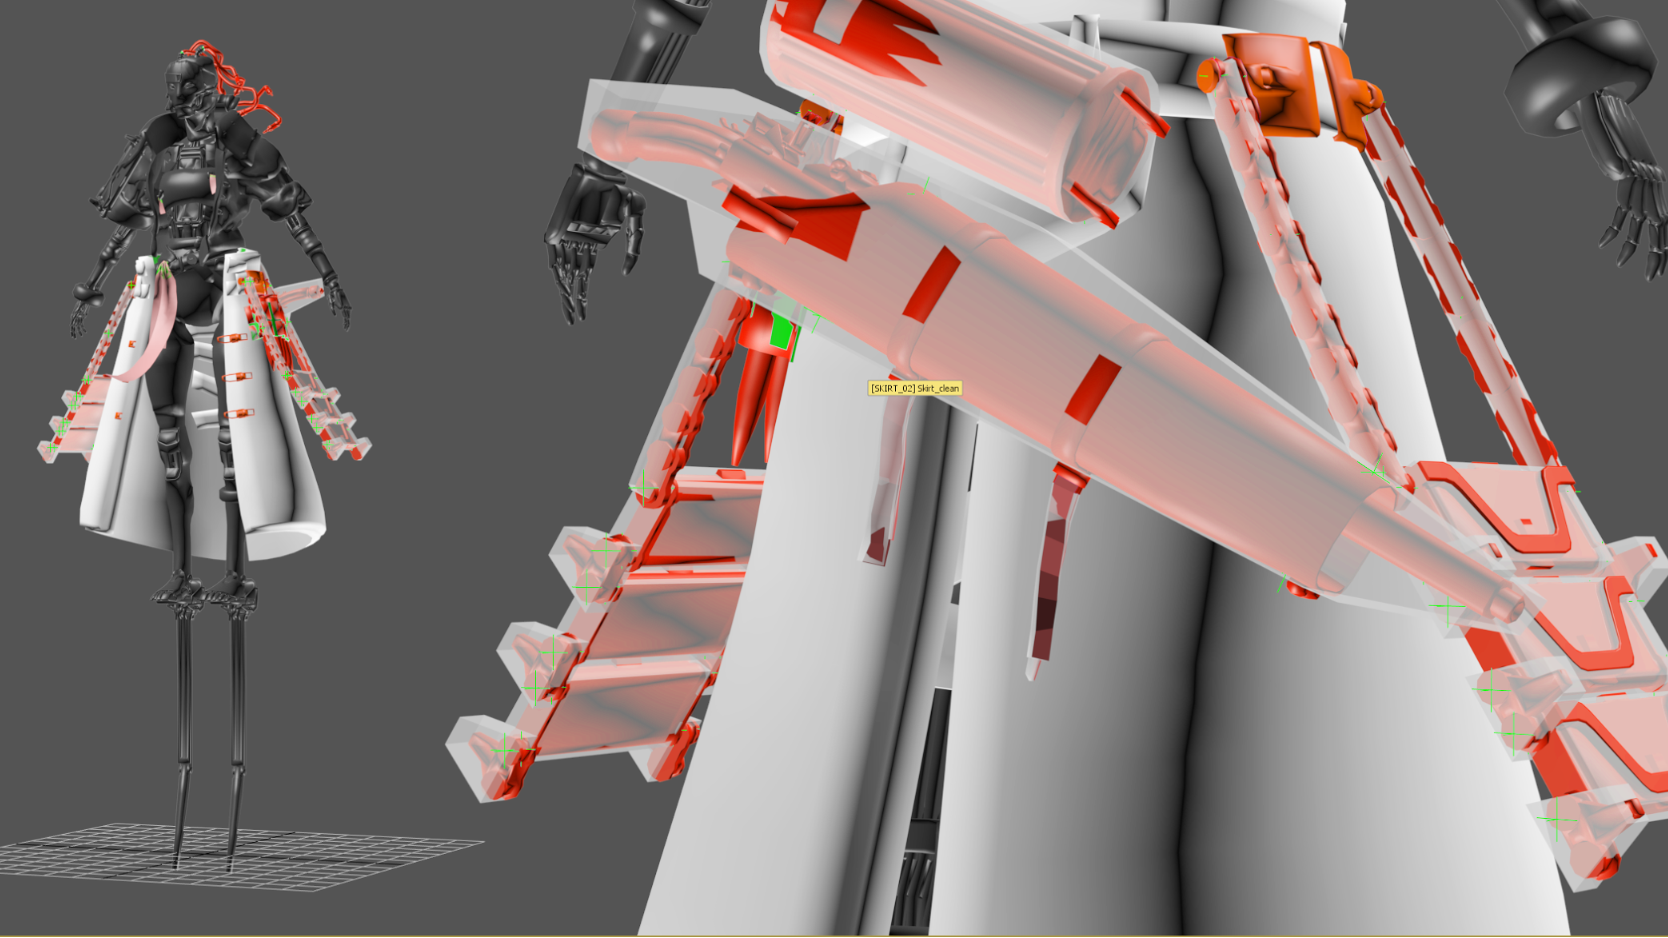
Sebastian and Lu
These two characters were particularly difficult to build. Not only the sheer number of different types of dynamic objects (soft, rigid bodies and clothes), but, especially in Sebastian's case, the layers of complex geometry layered over one another.


I split Sebastian’s geometry in three separate groups. The mantle, the cape and the shards that are hanging on the leather straps in one group. The skirt with the tablet and the knife in a second group. And the hood and the earrings in a third one. After that I began to reposition the elements to avoid initial intersection and started modeling lowpoly proxies to ease up the calculations.


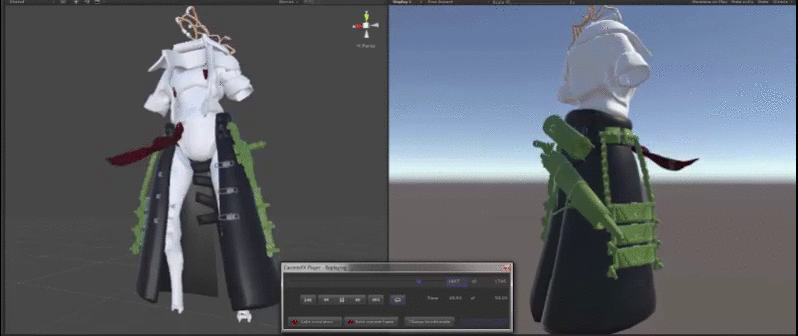
We have published the Sebastian character on the Asset Store and included a Caronte player in the package, so you can see how the simulation was set up.
Lu went through the same process, but there were fewer objects that needed to be simulated so setting it up was a bit easier and straightforward.


There was some back and forth going on between me and our production designer Georgi Simeonov, until we got the right thick and heavy leather feel for Lu’s skirt.
In the end we used soft body for the skirt instead of a single layer of cloth. The soft body keeps the volume better, and doesn’t wave as much as a cloth would, so it gave us the look and behaviour that we were after.
Lu is available on the Asset Store as well, in the package with the characters Adam and Guard. I have remade their simulations to use the native Unity cloth simulation physics, to make it easier for you to peruse the characters, and also play around with Unity’s cloth.
Have fun!
Is this article helpful for you?
Thank you for your feedback!
- Unity Labs
- Copyright © 2024 Unity Technologies